
Blind but Dangerous Hider — Role Guide
Survive the sound tax, save teammates smartly, and clutch last standing.
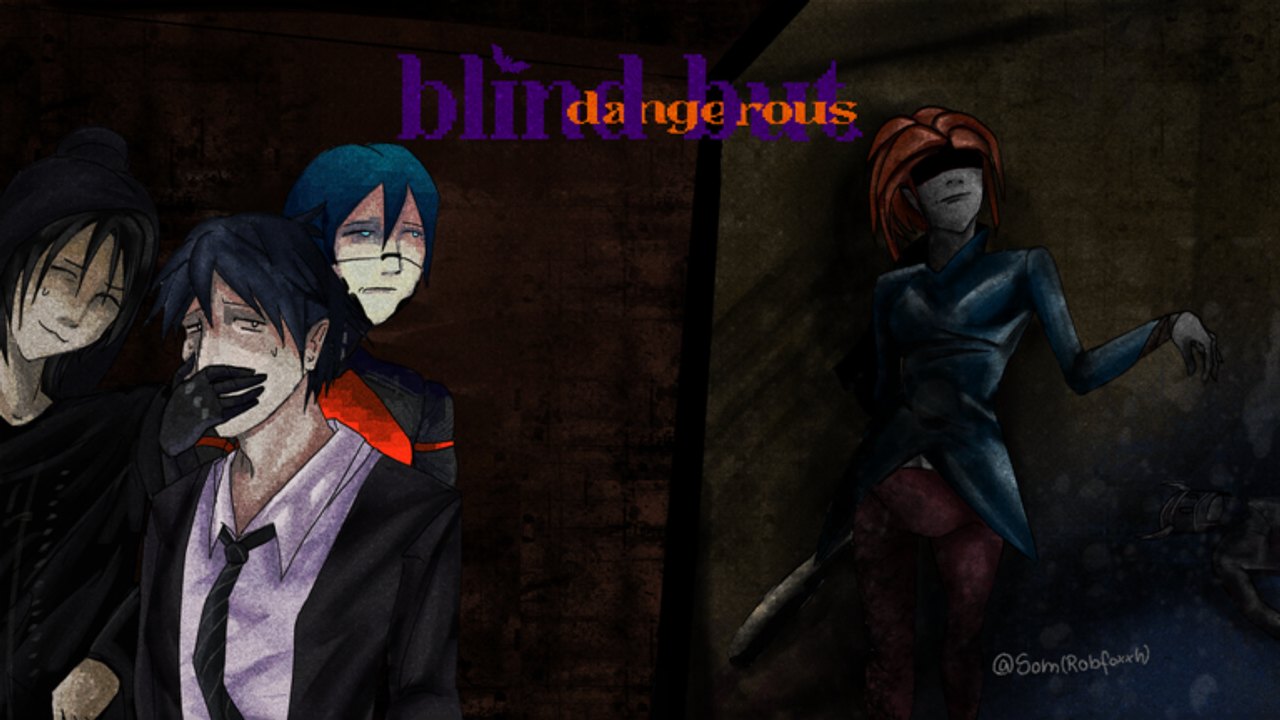
The Hider is the default seat for most of a Blind but Dangerous lobby — up to seven players managing silence while one Blind Man listens. This role sheet covers identity, strengths, failure modes, badge goals, and how you should think about noise as a budget. Full practical drills live in How to Hide; timer mastery in Whistle Mechanic.
Identity fantasy
You are prey with agency. You can shove, shield, revive, and outplay a blind predator — but every flex costs sound. Great hiders look boring on VODs: few sprints, early relocates, one clean save, then disappearance.
Strengths
- Numbers advantage for shields and staggered saves
- Map knowledge multiplies quiet routes
- Whistle prep turns a forced tell into a controlled feint
- Blind Man tilt after whiffs creates free windows
Weaknesses
- Forced whistle always returns
- Panic stacks (duo closets, mass revives) erase numbers advantage
- Meme pushes reveal you instantly
- Emotes and vanity can soft-int rounds
Noise budget rules
- Default to the quietest move that still changes position.
- Spend sprint only on whistle relocates or shield disengages.
- Spend a shove only to break a grab or enable a clutch escape.
- Never spend an emote while hunted.
- Bank silence after big spends — freeze and let footstep decay finish.
Match phases
Early
Avoid Horrible Hider deaths. Take cover immediately, no spawn dances, no testing Blind Man hitboxes for content.
Mid
Rotate on timer prep. Keep distance from teammates. Contest revives only when the hunter is committed elsewhere.
Late / last hider
Play wide, deny easy grabs, force long sweeps, and whistle on paths with two exits. Last hider standing badges reward discipline more than hero shoves.
Team habits that win lobbies
- Single-shove saves then split
- Staggered revives, never triple-stack
- Called relocates if you trust voice — otherwise pre-agreed map quadrants
- Shield with an exit plan before the whistle tax hits
Study predator logic on Blind Man and How to Hunt so your fakes match what hunters actually bite on.
Shop notes for hiders
Redeem codes first. Buy gadgets that stabilize relocates before banners or name colors. Supporter 1.5x helps if you grind both roles. Emote refresh is lobby flavor — see Shop & Passes.
Event hiders
Infected rules and Halloween maps change which props are safe. Rebuild your two-exit shortlist whenever Halloween Event swaps layouts. Anarchy showcases may reward chaos; ranked-feeling public lobbies still reward silence.
Micro-habits that clutch rounds
Pre-name your next cover
Halfway through every whistle timer, silently name the next prop. If you cannot name it, you are about to whistle in place — the #1 free kill for Blind Man players who read How to Hunt.
One-shove, then disappear
Hero plays win friends and lose badges when you linger. Land a single grab-break shove, then take a different exit from the victim. Double lingering is how “saves” become double downs.
Revive trigonometry
Approach downs from off-angles so your footsteps do not share the Blind Man’s current facing. After the revive, split immediately. If the whistle tax is inside five seconds, delay the revive rather than creating a corpse-pile concert.
Last-hider geography
Prefer props that force long sweeps. Deny the hunter a cozy center camp. Whistle toward edges that still offer a second exit, then freeze while they overcommit.
Common hider mistakes
| Mistake | Fix |
|---|---|
| Spawn sprint / emote | Instant cover; no lobby energy in-round |
| Duo closet stacking | Spread; stagger whistle positions |
| Meme pushes | Push only for grabs/shields |
| Panic jump after whistle | Pre-moved path; soft settle |
| Triple revive stack | One revive at a time |
| Ignoring codes | Free Coins before shop tilting |
Session plan (40 minutes)
- Claim codes via How to Redeem.
- Two rounds: silent-only challenge (no sprint except whistle relocates).
- One round: allow yourself exactly one shove and log why.
- One round: prioritize safe revives over personal hide time.
- Review deaths — whistle panic vs. bad cover vs. stacked teammates.
Quick checklist
- Headphones optional but useful to hear Blind Man approach
- Codes claimed
- Two-exit cover picked before first whistle
- One-shove rule mentally locked
- Emote key rebound away from panic fingers if needed
Related pages
- How to Hide — full survival guide
- Players Hub — roles overview
- Blind Man — know the hunter
- Whistle Mechanic
- Getting Started
- Codes Hub
Be boring. Be alive. Be last.
Frequently Asked Questions
Quick answers to the most common questions.
What does a Hider do in Blind but Dangerous?
Stay quiet, manage the forced whistle by relocating early, break grabs with smart shoves, revive safely, and try to outlast the Blind Man.
What is the Horrible Hider badge?
It is awarded for dying extremely early as a hider — roughly within the first five seconds. Avoid spawn noise and take cover immediately.
Should hiders stick together?
Spread out for most of the round. Group briefly for a revive or shield, then separate so one whistle does not reveal everyone.
When is pushing the Blind Man correct?
When you are breaking a grab or running a planned human-shield play. Random meme pushes usually get you eliminated.
Do I need Robux to hide well?
No. Free codes and movement discipline matter more than banners or colored usernames.